I’ve been making these simple flowers for my cakes for years. In fact I am pretty sure these were the very first plunger cutters I ever bought. That was back at the start. Now I have tons of different shapes and styles of cutters and all because they are really easy to use and create the best effects. All you need is a little imagination and you can do all sorts of things with them.
These flowers are a doddle to make as I will show you below. I tend to make a ton in one go as they are quite brittle and I’m very good at breaking them, but also because they keep for ages in an air tight container (indefinitely really if you keep them dry) and they are great to have to hand when you make a cake in a hurry.
How to make sugarpaste flowers
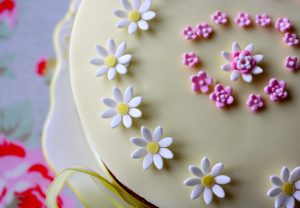
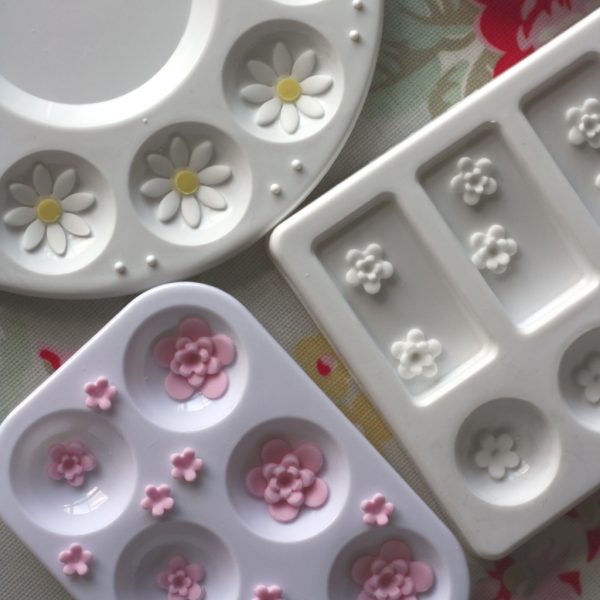
These blossom cutters are the most commonly available. They come in a set of 4 and are available from Amazon . I use this shape on it’s own and layer them up using really thin fondant. The tiny one makes very cute flowers that are really easy to break but look so cute on a cake. They are also perfect centres for other flower shapes.
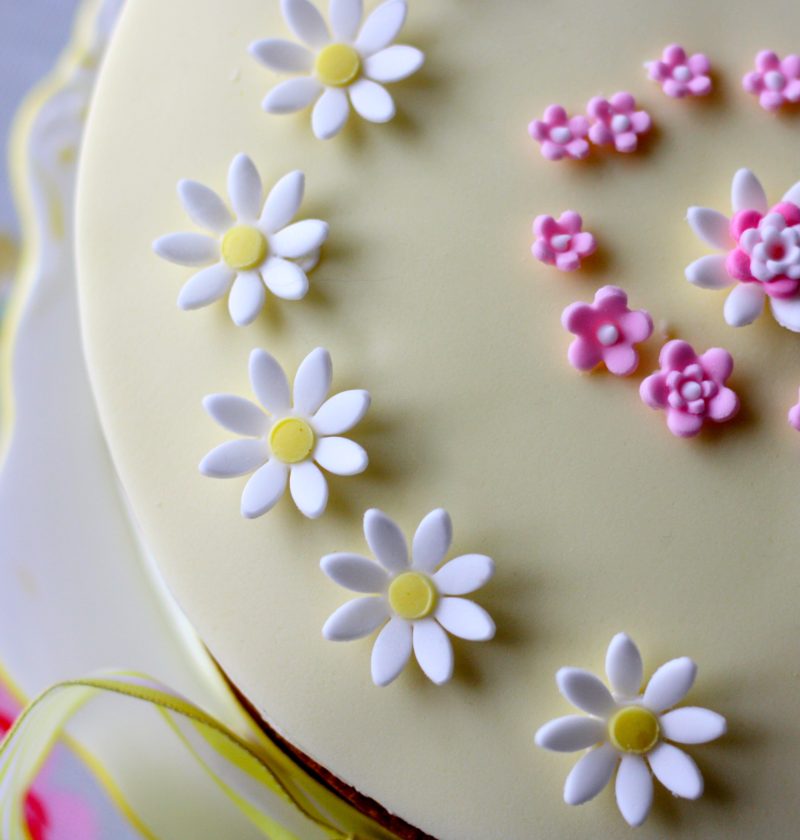
The daisy cutters are really good for lots of different looks. If you layer the same size flower up so the petals overlap eachother they look really pretty but you can also layer up different sizes, add a small blossom flower in the centre or as I have done above, add small yellow circles (also done with a plunger cutter) to make them look like a traditional daisy.
The first step is to roll out your sugarpaste on a hard surface. The reason for this is that once you have cut out the flower it will stick to the plunger. Before you lift the plunger up away from the surface, move it from side to side a little. This removes any burrs of sugarpaste that remain. Alternatively, you can gently wipe your finger across the bottom of the plunger to get the same result. The idea is to have nice sharp edges with no fuzzy bits.
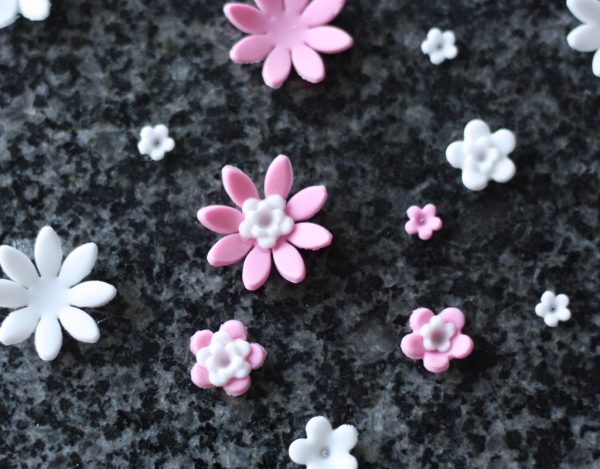
Press the plunger to release the flower. If it sticks give it a shake and next time very lightly dust the flower part of the cutter with icing sugar.
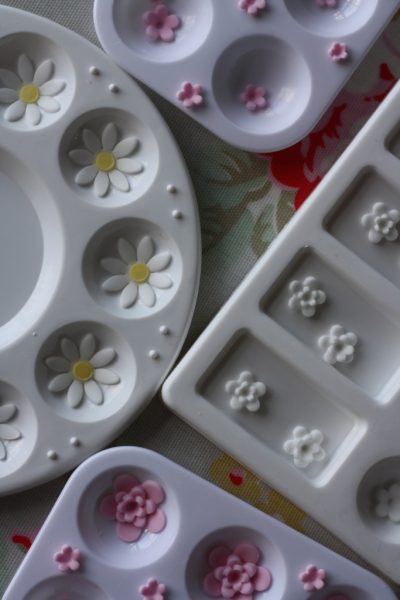
It’s a really good idea to get your hands on an artists palette. I’ve had loads of these over the years and my favorites are always the ones with deep recesses. This little 6 hole one is my latest addition. Just 79p from Hobbycraft. By placing the flower inside the recess of the palette you give the petals shape. You don’t have to shape the flowers though. They still look good when they are flat.
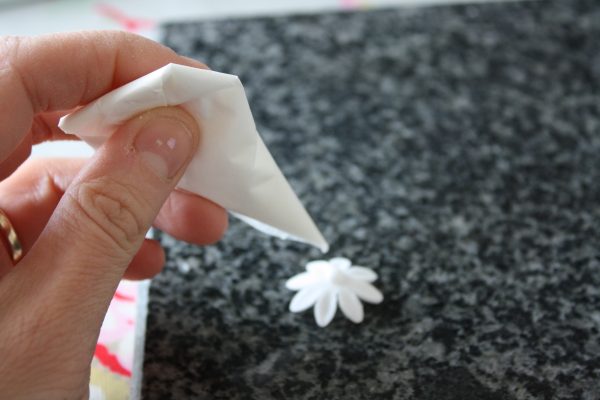
To layer up the flowers add a tiny amount of water to the centre of each flower. Sugarpaste is very sticky when wet so you really don’t need much.
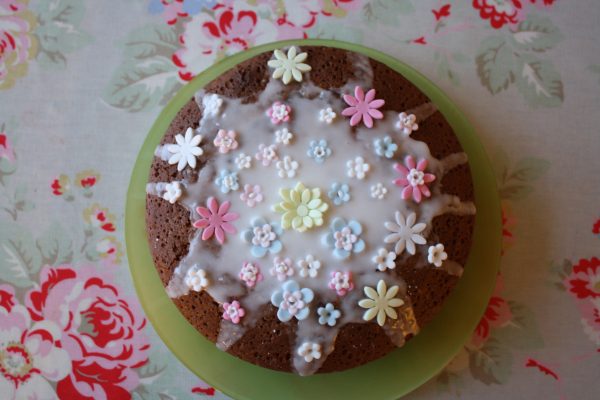
When adding the next flower position the plunger directly over the centre of the base flower and push gently into it to create a firm connection between the two layers. You can stop there or keep on going- adding more flowers. Remember that the thinner the sugarpaste the better the flower will look.
The flowers now need to be left overnight to harden up enough to handle. They will be fragile so use a dry paintbrush to dislodge one side of the flower when you are ready to remove them and they should just slide out of the palette easily.
The end result…. but we’re not finished!
Once hardened the flower can be attached to cakes. You can add them as they are onto cupcakes but when I add them onto celebration cakes I add a small finishing touch. Add a small dab of royal icing onto the back of the flower. If you add too much it will squidge out and show from the front and it will also mean the flower is likely to slip slide down the cake. Add just a tiny dot the size of the base of the back of the flower. Position the flower on the cake and hold it in place with your finger for around 30 seconds. That’s all it takes for it to stick.
The finishing touch is a tiny dab of royal icing in the centre of the flower. This can be any colour and it really finishes off the flowers.
And there you have it. Simple yet effective sugarpaste flowers.
EmmaMT
p.s. I have used sugarpaste but you can also use modelling paste or flower paste in exactly the same way. The flowers will harden much quicker.
Some baking books you may enjoy
Lucy Young and Mary Berry’s Mini Banoffee pies
Book Review: How baking works … and what to do when it doesn’t by James Morton
Paul Hollywood’s How to Bake – book review
Mary Berry’s Lemon Drizzle traybake recipe
Interview with the experts: Lucy Young
Mary Berry and the best butter tip ever!


Hi Emma,
These look lovely – and they are fabulous and make life easier and look so pro. I’ve got the same.
Do you have any top tips for converting sugar paste to modelling paste? do you just add gum trag? If so what are the quantities? When I went to lessons they provided it, but struggling to replicate. The result – saggy models! Lovely!
Hi Pam,
I haven’t tried to convert sugarpaste before, I tend to just buy modelling paste, but the cost difference makes it well worth a try.
If I want to harden up sugarpaste I use Tylo powder (Extra Fine Tylo Powder for use in Baking and Icing Work (50g) )
)
which is very fine. I don’t weigh it I just sprinkle a little on the sugarpaste and knead it in really well. It makes the sugarpaste harden really quickly and it feels more like modelling paste or flower paste. You have to work quickly with it though.
Hope that helps
Spk soon
EmmaMT
They look fab. Love it. Cx
Oooh! I want those first blossom cutters now, they are so cute!
So – I have seen a lot of posts saying you have to use flower paste – but you just used ordinary fondant/sugar paste? x
You can use either. It’s a personal preference thing. I use both depending on what the cake is for. A quick and simple cake is perfect for sugarpaste but a wedding cake always has flower paste flowers. I also sometimes combine sugarpaste and flower paste together as it makes a really easy to handle substance which is more elastic to form but firm too – if that makes any sence?
PS they are only £1.29 including postage on ebay! I get a lot of my stuff from China, it’s exactly the same as the ones you get in the UK but much cheaper (and takes a month to get here…)
http://www.ebay.co.uk/itm/26pcs-flower-cake-fondant-cutter-decorating-sugarcraft-mold-plunger-snowflake-/271023184355?pt=Uk_Crafts_Cake_Decorating_MJ&var=&hash=item3f1a3d99e3
Ohhh that’s good to know. Thanks
x
What a great tutorial – thank you so much for sharing.
Kate x
http://www.kateathome.com/
You’re very welcome. Thanks for stopping by.
EmmaMT
Im planning on making 220 sugar paste blossoms for cupcakes, approximately how much sugar paste do you think I would need
A lot!
But seriously, I would think you could make them out of one pack of sugarpaste (250g) depending on how thin you roll the icing out to and also what size cutter you use. Make them well in advance so that they are fully hardened and then position them while the buttercream on the cupcake is still ‘wet’
Hope that helps.
EmmaMT
Thanks for that, will they keep in an airtight container for a week? I was planning on making my flowers this weekend and my cupcakes on Friday?
[…] already topped the cake with a circle of yellow sugarpaste and the flowers (learn how to make them here) were all dried and ready to add to the cake. Darcey decided that she would make a Daisy circle and […]
This is lovely. Simple yet beautiful. Am going to try this next week.
I’m making more tomorrow. Can’t wait. The cake is really pretty with lots of flowers.
EmmaMT