So, here we are again. Darcey’s birthday! Eight already! Seriously when will she stop getting so big? I know she’ll never stop being cheeky. I mean just look at her weilding that knife. “I want to cut the cake right down the middle” she said. Most people say “Oh, I love the cake. I don’t want to cut it” But not my kids. Give them a knife nearly twice their size and they’ll chop right down through the head!
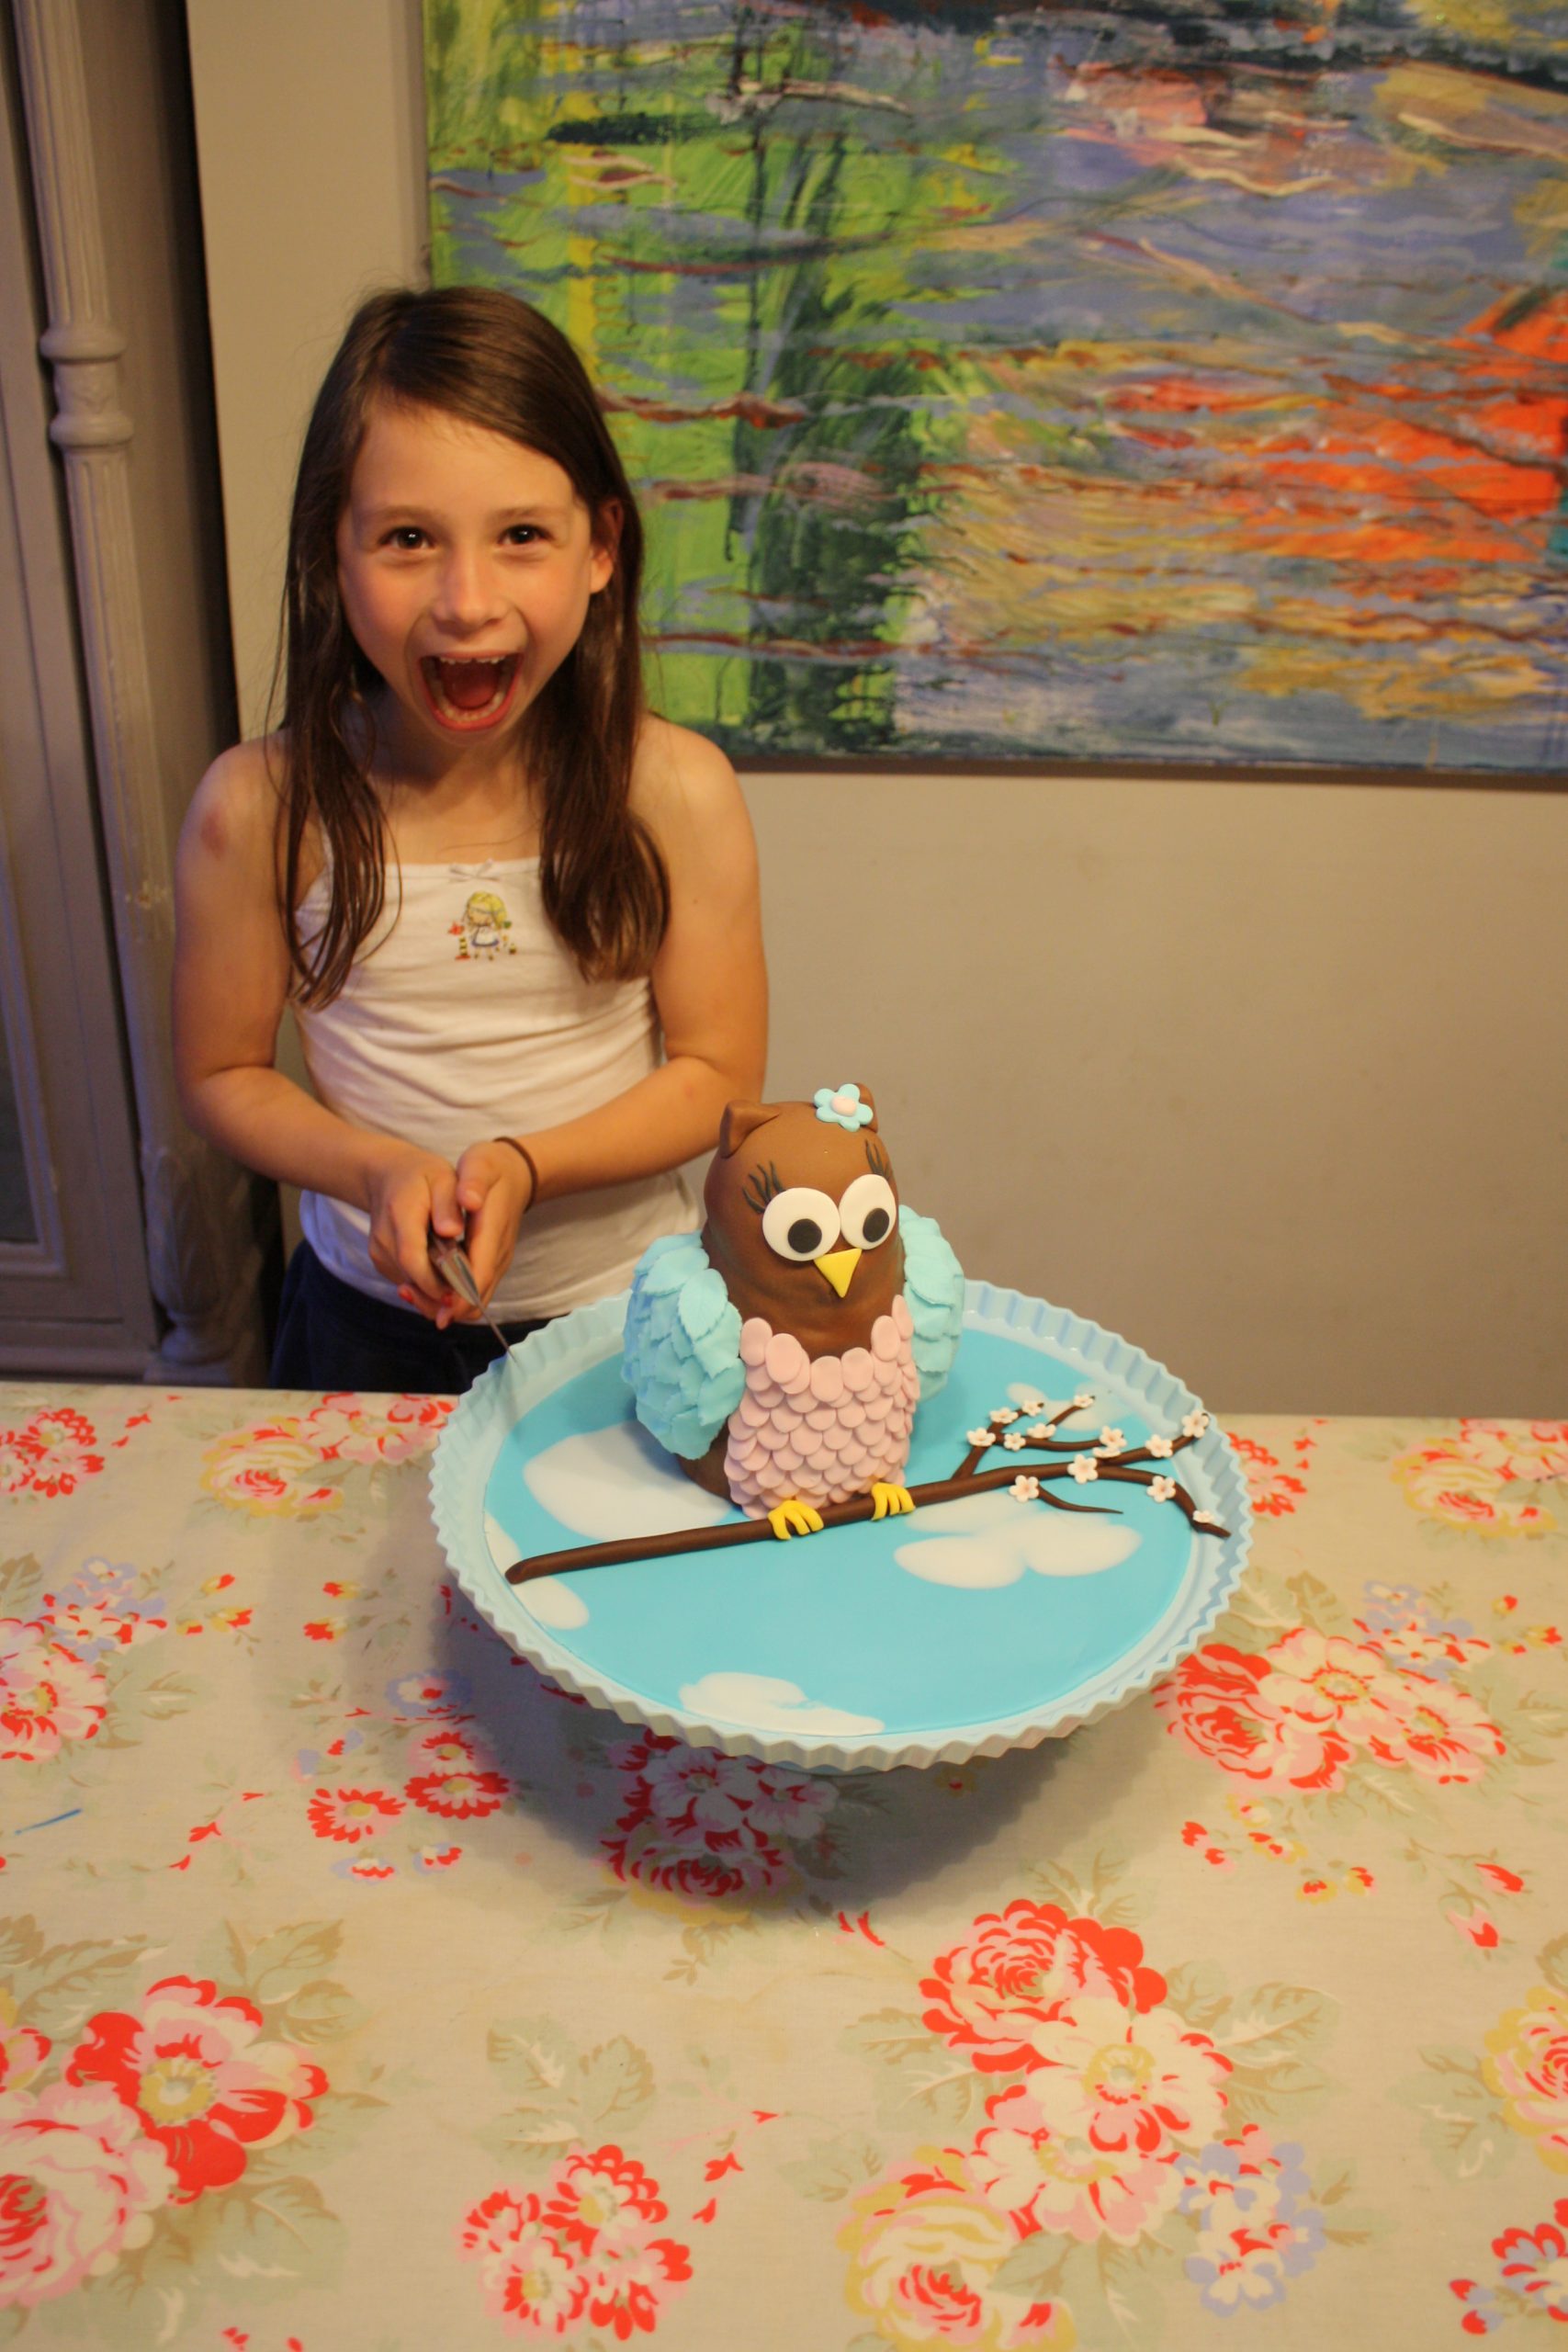
Darcey is mad keen on owls all of a sudden so it was a no brainer what cake she would want for her 8th Birthday sleepover party. The thing with having an August birthday is that nearly all of her friends were away on holiday when it was her party. Even Beau was at scout camp. This meant that the cake only needed to feed 4 little wrigglers.
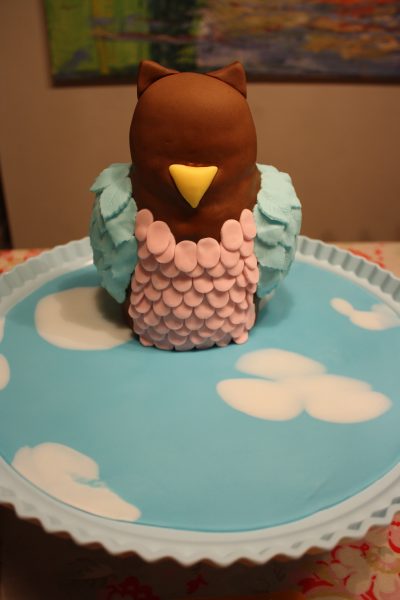
To start with we made the sky base for the stand. Darcey insisted on helping – which lasted for all of 10 minutes. We added some white balls of sugarpaste to the blue before rolling it out to create the clouds then positioned the sugarpaste onto the cake stand and cut it to fit.
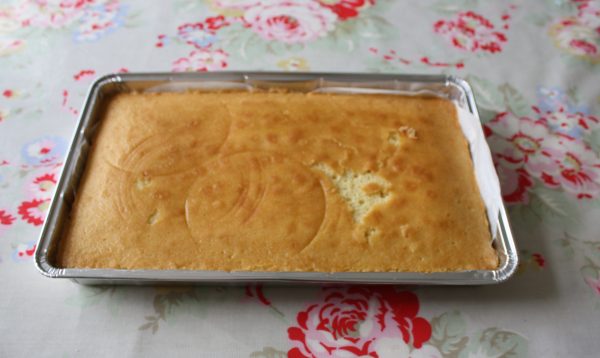
As we only needed a small cake I made a Madeira cake in a disposable tin (one of these fab ones from Lakeland) I knew I could cut out four circles to make the shape of the owl’s body.
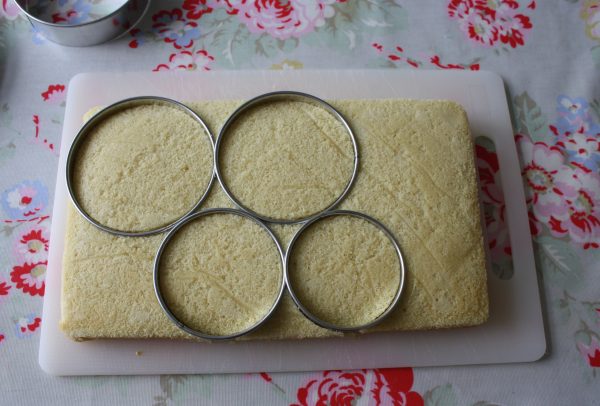
For the arms I turned the off cuts into crumbs and added a small amount of buttercream. Mixed it all together and made wings for the sides. The buttercream meant that the wings just stuck to the side of the body easily.
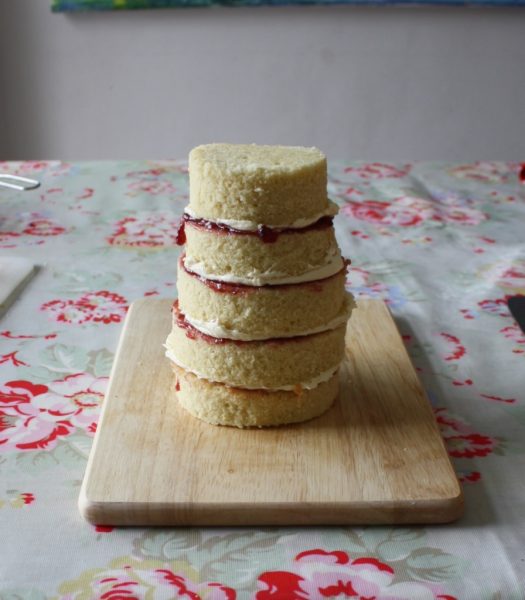
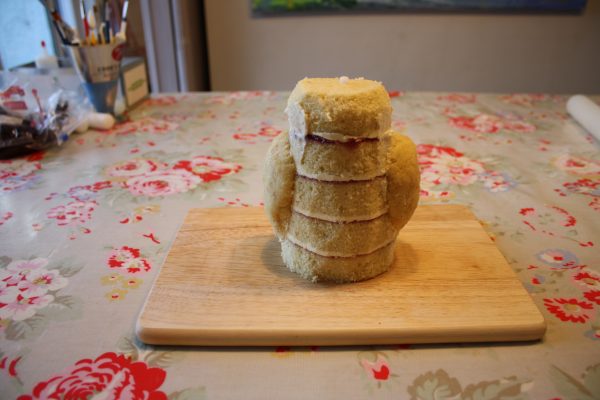
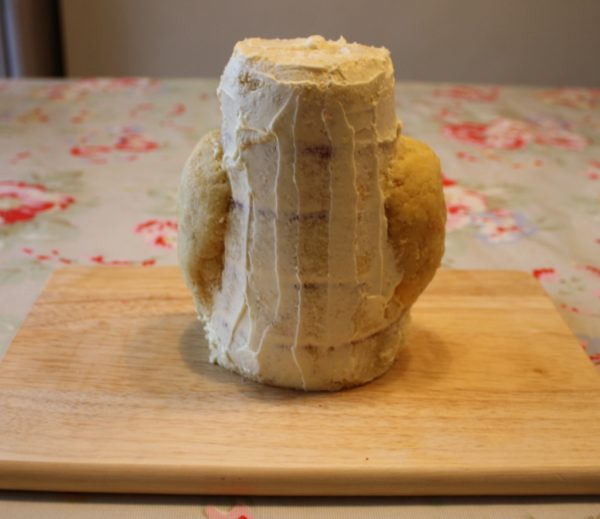
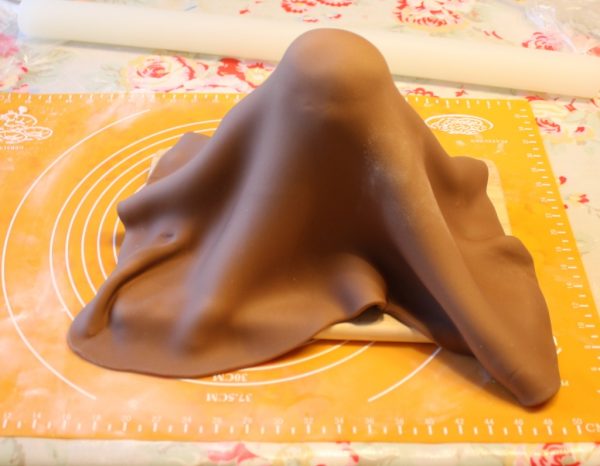
I layered up the four circles of madeira cake with raspberry jam and buttercream then shaped them so they were smooth. A quick crumb coating then the arms were added. The chocolate sugarpaste was rolled out and placed over the whole body. I smoothed it with my hands until it was neat, then removed the excess paste.
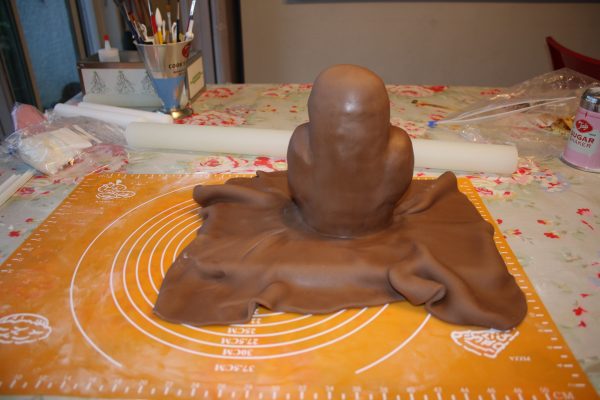
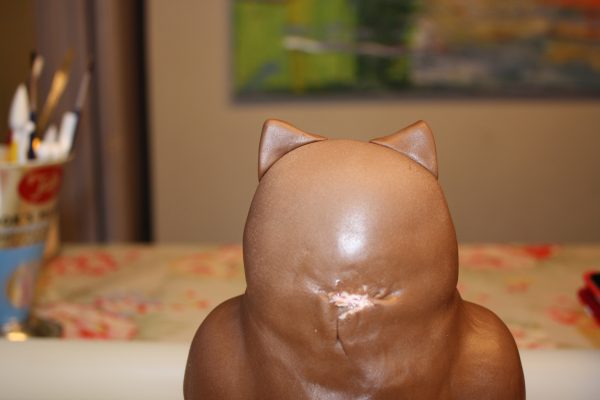
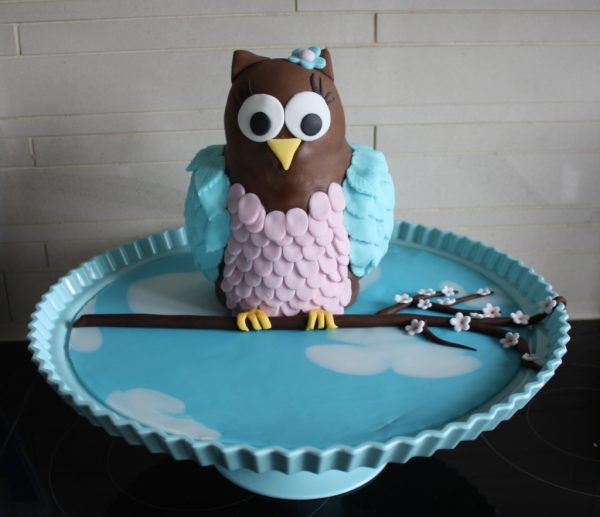
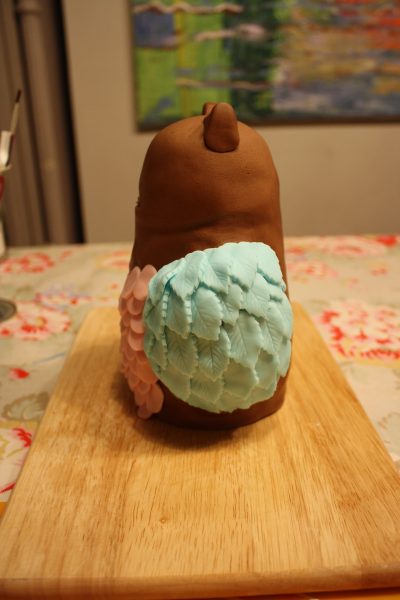
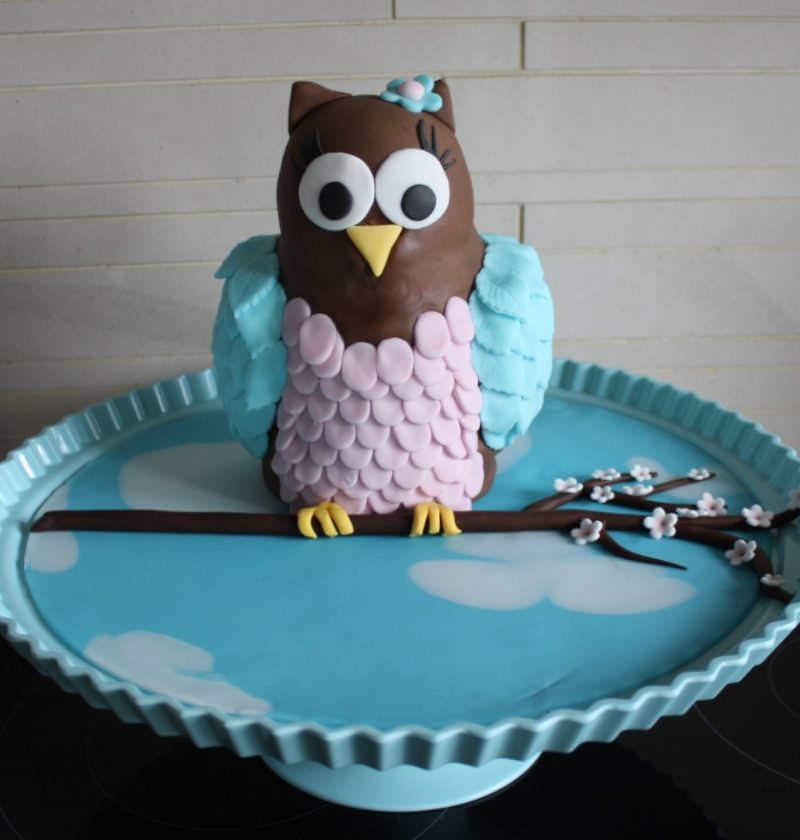
To decorate the wings I cut out loads and loads of leaves from blue icing and layered them up – starting at the bottom and working my way up to the top. I did the same process for the body but here I used an oval cutter. The ears and beak came next then the eyes, eyelashes and flower. To finish off I created a blossom branch with flowers for the owl to stand on. A couple of yellow feet and she was done… in the nick of time!
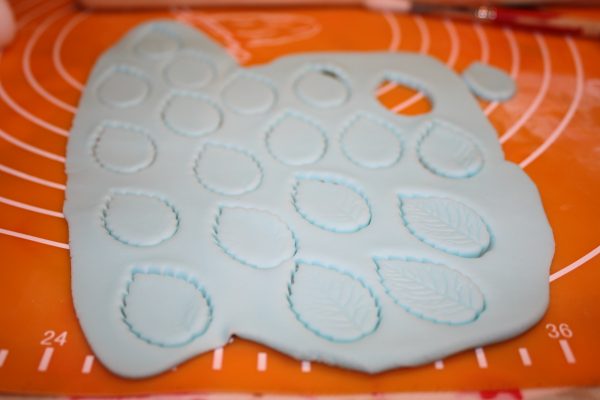
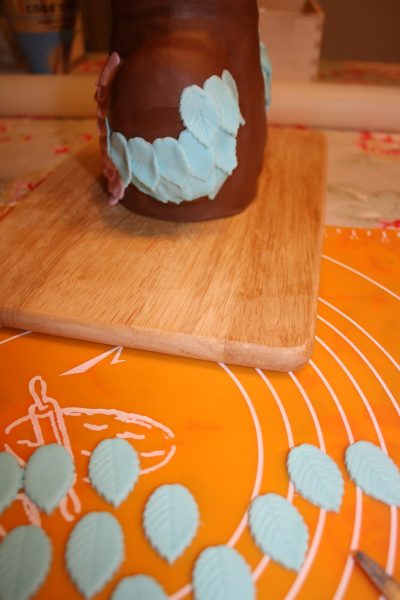
To finish off I created a blossom branch with flowers for the owl to stand on. A couple of yellow feet and she was done… in the nick of time!

Darcey was pretty happy with the end result but then again she knew she would be. She drew me a plan of exactly what she wanted the cake to look like and what colour each element was to be right down to the eye lashes and flower.

Happy Birthday gorgeous, cheeky, sticky Darcey doodles. We love you so.
Love Mamma
aka EmmaMT
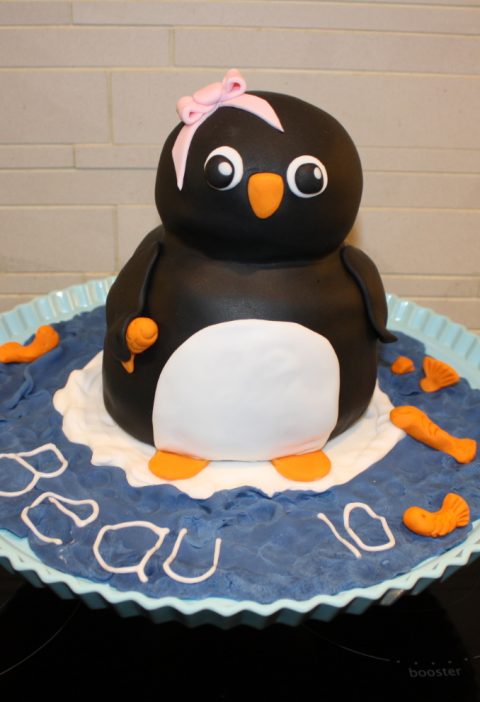
More Cakes you may enjoy
FAQ: Frequently Asked Questions


You clever mum! Happy birthday Darcey!
Cristina
I love it! A fantastic cake for a fantastic little girl! x
Oh wow Emma, Darcey’s birthday cake is truly amazing. An absolute work of art. Isn’t it heart breaking when they cut such a beautiful cake but I guess it’s made for eating after all. I bet it tasted wonderful too. Happy Birthday Darcey.
How utterly adorable. And it looks like even I could try that. Thank you Emma, our ‘how-to’ steps look super easy to follow. I obviously love the owl but I admire that your details didn’t stop there, the little blossom branch and the sky with clouds are so sweet, a little touch that make your creations stand out from the crowds.