Earlier in the summer I was lucky enough to go on one of Leiths Cookery school’s ‘Cakes and Baking workshops.
Now, I bake a lot. I mean A LOT! So I thought I knew quite a lot of stuff about baking, but boy was I wrong. I learnt that there are so many little things you can do to make every baking experience even more successful. So without further ado, or waffling – if I can help it- here are some of the tips I learnt.
1.Use the right tin.
If it says grease and line an 8” tin- do exactly that! I always used to make that up as I went along and make do, but Sue the demonstrator showed how using the right cake tin makes all the difference. Your cake will rise evenly and more importantly bake more flatly. Use a tin too small and your cake won’t bake. Use a tin too big and you’ll end up with a biscuit! It’s also important to prepare the tin before you start to mix up the ingredients as the longer you wait once the cake mix is ready, the more air you will lose and the cake won’t rise as well.
2. Avoid loose bottom tins.
The best tins to use are heavy bottomed ones. I use Mermaid tins and Lakeland’s ‘My Kitchen’ range of heavy based tins and they seem to work really well for me. I’m also in the process of testing some others out, but more on that in another post!
3. Always line the bottom of the cake tin.
Get the paper (which should be silicon as it’s less sticky) to fit as closely as possible. Don’t let the paper from the bottom of the tin go up the sides as this will change the shape of the top of the cake. Also, if the paper’s not covering the whole base of the tin the cake is likely to stick and be difficult to get it out after baking.
4. Use oil to grease your cake tin
I’ve always used butter or cake release to ‘grease’ my cake tins. It never occurred to me to use oil. Sue explained that using butter will nearly always form a crust on the outside edge of the cake. I have been using a non flavoured oil (vegetable oil or sunflower oil – not olive oil) since the workshop and it has made such a difference. My cakes are now soft and spongy all over.
5. Bake at 180ºC
Practically all cakes need to be baked at 180ºC in the centre of the oven. I always worried about larger cakes burning or not baking in the centre but they too work best at 180°. I also always used the fan option with my oven. If you do this you need to lower the temperature by 10-20°C. Since the workshop I have opted not to use the fan at all and the results are amazing. Goodbye fan hello better cakes. My cakes now bake much, much flatter and more level. There’s hardly any doming.
6. Check your oven temperature
I have a relatively new oven and even that doesn’t keep to a constant temperature or it doesn’t reach the temperature that I set it to. This is where an oven thermometer is essential. Pop one in the oven as soon as you turn it on to make sure you are ready to bake as soon as the mix is in the tins. I use this one from Amazon TALA OVEN THERMOMETER TALA 0/6
7. Don’t use a food processor
To make a cake rise most rely on air being beaten into the cake mix. The air then expands when it’s heated in the oven. For this reason a food processor isn’t the best mixing tool as it will bash all the air out when you mix with a blade resulting in a less fluffy cake. I always use my Kitchenaid stand mixer to blend ingredients and it works brilliantly.
8.Get the temperature right
Have your ingredients at room temperature for at least a few hours (preferably overnight) before you make the cake. The most important elements are butter and eggs. Avoid putting butter in the microwave to soften it up as it won’t do so evenly and it affects the way the cake will bake. Instead leave it near a warm radiator for a while.
9.The right way to mix
I didn’t know there was a wrong and a right way to mix a cake but apparently there is! We should start by mixing the sugar and butter together till they are light and fluffy (this is the creaming method). Then to add the eggs, first crack them into a jug and break them up a bit with a fork, then add them to the butter and eggs a tiny bit at a time. Then whisk, and whisk some more and then whisk some more until it is all really well blended. Then add a tablespoon more egg and continue with the mammoth whisking. I never did this before. I just added a spoonful of flour if it started to curdle, but this is the best way to avoid curdling. Then you can add the rest of the dry ingredients and fold it in.
10.Always sieve
Until the workshop I always skipped sieving but it definitely helps to ensure everything will blend to a really smooth texture. I now sieve all dry ingredients, so if there are any larger sugar crystals (which there always are) I can get rid of them. Also when it comes to cocoa powder – which naturally seems to clump together, it means that you don’t end up with any lumps of powdery cocoa in your cake
11.The best way to fold….
is to use a large metal spoon and move it in a figure of eight, turning your bowl after each ‘8’. Don’t over fold, just keep going until all the flour is well blended. Now don’t do what I do and bang the spoon on the side of the bowl as every time you do that you are knocking more air out of the mixture.
12.Use a spoon to fill cake tins
I gloop cake mix directly from the mixing bowl into the cake tins, but for a really even cake Sue suggests weighing the ingredients into each tin so you have a really even cake. (Sorry Sue, but life is just too short for that!) What I did learn from watching her fill a cake tin is that if you use the back of a regular metal dessert spoon to smooth the mix right up to the sides of the tin the mix doesn’t stick to the spoon and it gives you more control than I have had in the past using a silicon spatula.
13.Don’t open the oven door….yet!
Once your cake has been placed in the centre of the oven don’t open the door for the first 10 minutes. The cold air that rushes in will cause it to sink. If your cake rises to a peak the oven was too hot.
14. Test when your cake is done…
by using a metal skewer. If it comes out dry it’s ready. If it’s a little wet give it a few more minutes. Other ways to check are by lightly pressing your finger near the centre of the cake. If it springs back instantly it’s ready. Lastly the cake will start to come away from the edge of the cake tin when it’s baked to perfection.
15. How to remove the cake from the tin.
After 10 minutes of cooling on a wire rack Sue showed us how to take a regular kitchen knife and place it down the side of the cake tin and move it up and down moving around the cake tin to release any cake that is stuck to the tin. If you just drag the knife between the cake and the tin all the way around you are likely to break the cake edges. Place your hand over the cake then flip it over and out of the tin. Remove the silicon paper from the bottom of the cake and place it bottom down on a cooling rack until it’s completely cool. Make sure that the cake is cold before you start adding icing or cream.
————————–
So that’s it. The top tips I learnt at the Leiths cookery school. Check out their website if you fancy doing one of their workshops. Most of the people on the course with me had been given it as a gift. What a great idea.
Do you have any great baking tips you’d like to share? I’d love to hear them in the comments below.
EmmaMT
More Baking Tips you may like
How to cover a cake in sugarpaste, and make it really smooth!
How to cover a cake in chocolate ganache
Apple Tarte Tatin and my epic disasters!


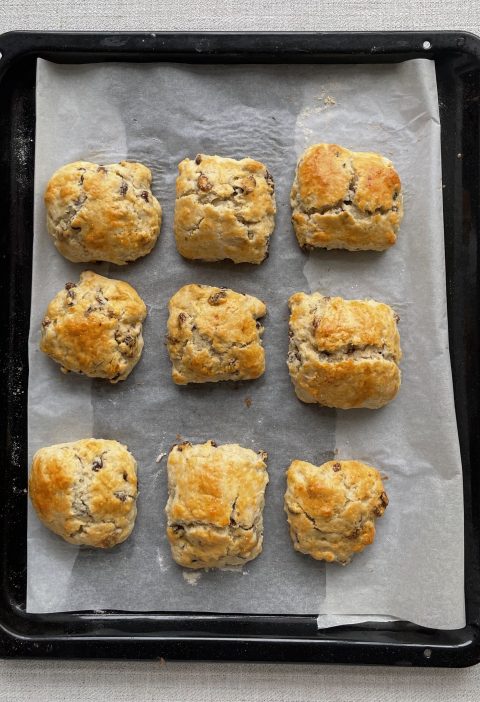
Excellent post! I could have used some of that advice this week when I made my girls savoury muffins!
But number 13. Don’t open the oven door yet! Oh but it’s so tempting…. at the very least it is best if you have a big, clear and clean glass oven door. There’s nothing more exciting than watching your cake come to life in front of your eyes!
Fantastic tips, thank you so much for sharing! I hope my cakes will be all the better for them 🙂
Hi Emma,
Thanks for the tips! Half of which I just broke in the cake I made before reading this but next time… 🙂
I found your site while looking for Hello Kitty cake ideas for my daughter and discovered so much more. So thank you very much and looking forward to reading more and learning more from you soon.
Regards Jason
Thanks Jason. Yes I was breaking most of the tips too! I didn’t think making a few small changes could improve my cakes so much, but it does!
Happy baking
EmmaMT
I have just read this wonderful advice. I never liked the texture of the outside of the cake using butter but always thought that was my problem. Will certainly use sunflower oil now. I have always had a problem with curdling although the cakes always seem to come out light and fluffy unsure why so will try this one too. Maybe what I think is curdling isn’t! I have always found different brands of plain or tip 400 flours produce better or worse results. Sadly to say here in Slovenia you pay for what you get. Did Leith say anything about flour?
Thanks again for sharing.