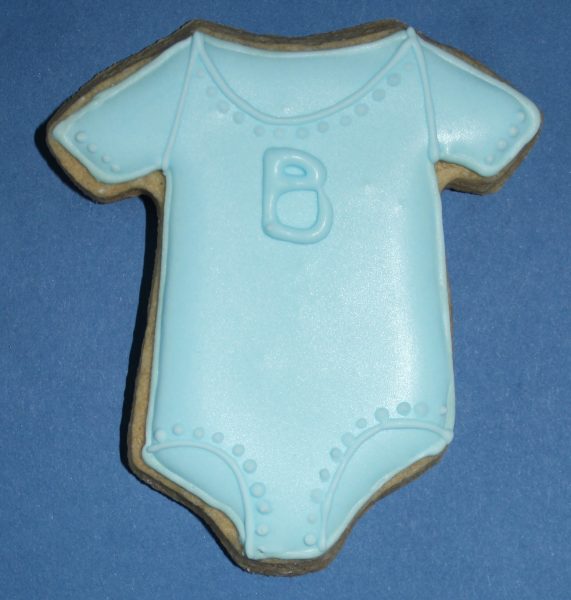
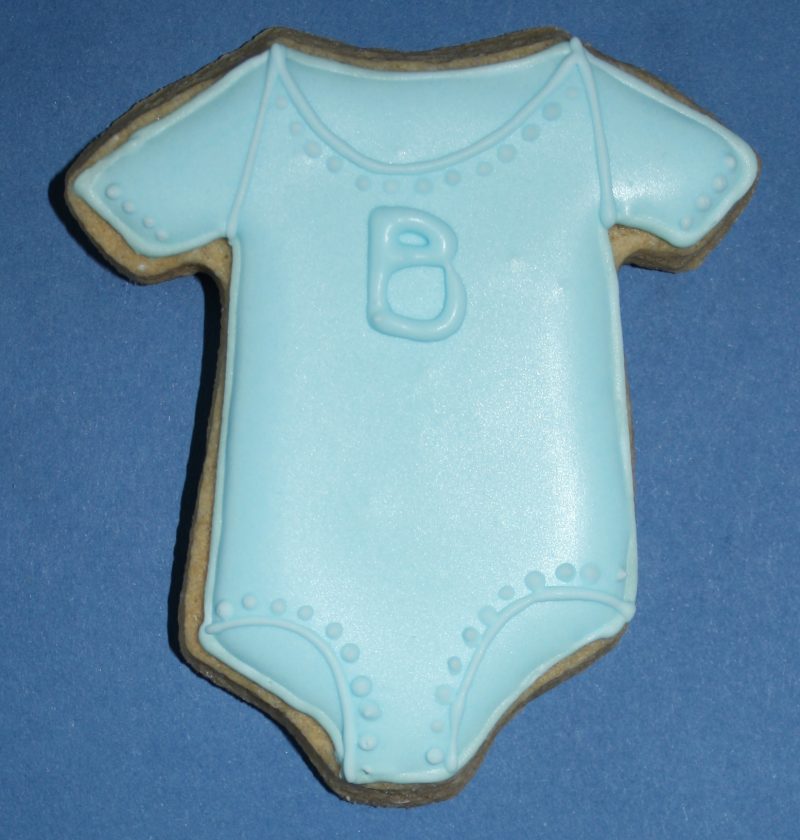
I’ve been wanting to practice my cookie icing skills recently and there’s no better time than when there’s the arrival of a new baby to celebrate. In fact there were four babies within the space of a week at Easter! I made these for two of my friends who obviously had boys. One was Benjamin and one Harry, so I added B’s and H’s to make them a touch more personal.
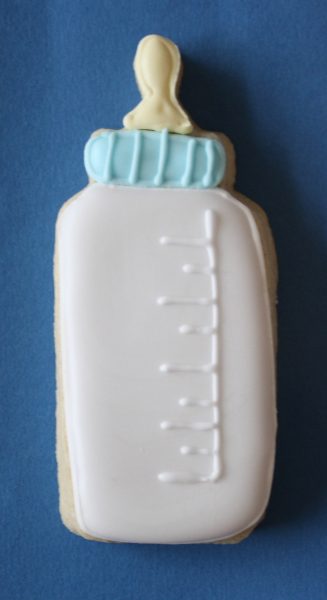
The cookies were made from Vanilla Cookie dough (recipe below) and I used the technique as described by Ruth Clemens from The Pink Whisk to get the consistency of the Royal icing just right. She says that you make the Royal icing till it forms a ribbon trail. Lift your spoon up and let one of those ribbons drop across the middle of the bowl and count how long it takes to completely disappear. It should be 10 seconds. This was really helpful to me as I never seemed to be able to get the consistency of the Royal icing quite right and I also always had different results. This way the end result is always the same.
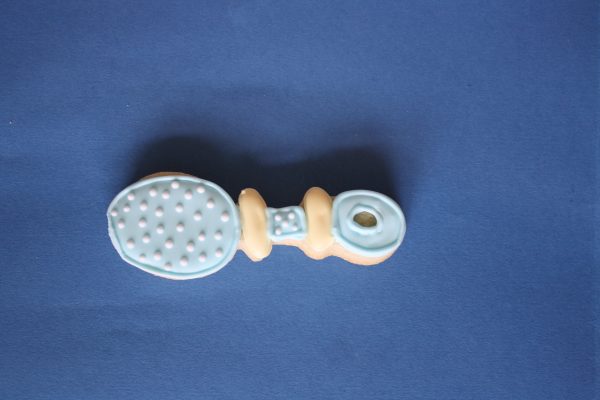
Vanilla Cookie recipe
(Makes around 20 biscuits)
- 200g unsalted butter- at room temperature
- 200g caster sugar
- 400g plain flour
- 1 egg – at room temperature
- 1 tsp vanilla extract
To make the cookies
- Place the butter in a bowl. Add the sugar, flour, egg and vanilla essence.
- Mix all the ingredients by hand. I always mix biscuits by hand as the warmth from your hands means that it’s all being blended really well and for some reason they taste much better than when mixed with a machine. You can always start the mixing with a wooden spoon if you don’t like gloopy hands.
- Be careful not to overmix biscuit dough. It will not only become tough, but the biscuits will spread more when baked and we want them to keep their shape perfectly.
- Once it is nearly all blended I turn the dough out onto the worktop and knead it till it all holds together nicely.
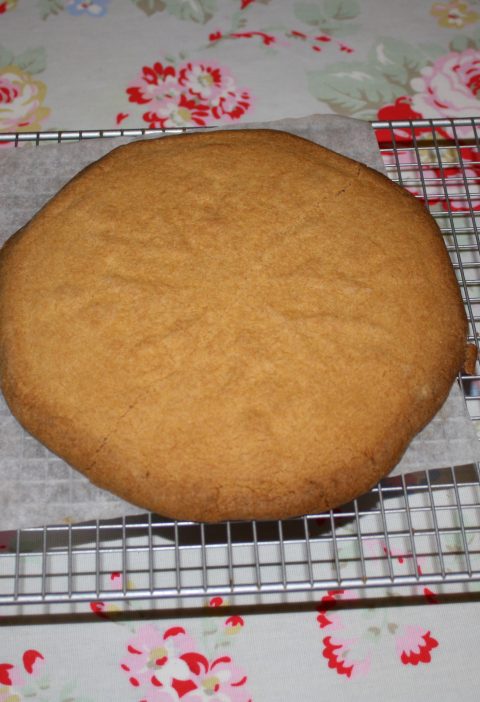
- Wrap the dough in cling film and pop it in the fridge for at least 30 minutes. This allows the gluten in the flour to do it’s stuff. Without chilling the cookie shapes will definitely contort when baked.
- Remove from the fridge and knead a little on a lightly floured surface. Roll out using spacing sticks to ensure that your biscuits are all the same thickness.
- Cut out the cookies then remove the excess first. This way you can pick up the biscuit without denting it.
- Place on a baking tray lined with silicon paper and pop back in the fridge for another 30 minutes. This ensures the cookies bake slowly and don’t spread. It’s the easiest way to make sure each design is exactly the same.
- Pre-heat your oven to 160°C then bake for 12 minutes or until the biscuits start to brown on the edges
- Remove from the oven and leave to cool for a few minutes before transferring to a wire rack to cool completely.
Royal Icing recipe
- 3 heaped tsp of Meri White (dried egg white substitute available from cake decorating shops and Amazon)
- 3 tbsp water
- 300g icing sugar
How to make Royal icing
- Start by dissolving the Meriwhite in the water in a large mixing bowl.
- Add the icing sugar and mix till combined. You will need to scrape down any sugar that has stuck to the sides of the bowl. Continue to mix for around 10 minutes until the icing sugar is smooth and glossy.
- Royal icing dries out really quickly so pop it in an air tight container as soon as it’s ready.
- Add colour with a toothpick then fill your piping bag. Make sure you make enough to line and fill your cookies. It’s hard to match a colour if you run out.
How to decorate your cookies
- Pipe and outline on each cookie. This should be the same colour as the one you will fill it with so for the baby bottle the bottom should be white and the teat part yellow.
- Leave the outline to dry for around ½ an hour. This will give it a chance to set and you’ll be able to handle the cookie much easier. I damaged loads of the outlines as I handled them too soon.
- Add a drop or two of water to the royal icing mix to make it a bit more runny and fill in the cookie. If there are any bubbles pop them now with a toothpick. Leave to dry completely. This may take an hour. It may take longer.
- Once completely dry pipe an outline on each cookie and any extra details like measurements on the bottles and details on the baby grow. Again, leave to dry.
- These cookies will last a week in an air tight container so bake and decorate on one day so you can give them as a gift and they will last a bit longer.
EmmaMT
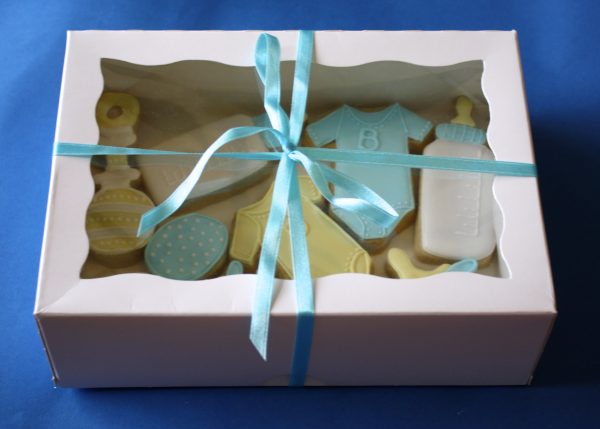
More Kids Birthday Cakes you may enjoy
How to make a merry go rounds birthday cake
How to make a Mario and Yoshie Birthday Cake
Twitter and the horse birthday cake
Merry Go Round Cookie Birthday

Adorable! You are one seriously talented woman EMT X
Says the marathon runner! Well done again hun. X