
Basic vanilla biscuits / Cookies
Last night: Sunday, 7.30pm as Beau get’s out of the bath.
Beau: You said you would make biscuits for school for our biscuit tasting
Me: Yes I will. When is that?
Beau: Tomorrow!
Me: Tomorrow!!!!
Beau: Yes what will you make?
Me: Ahhhgghhh!
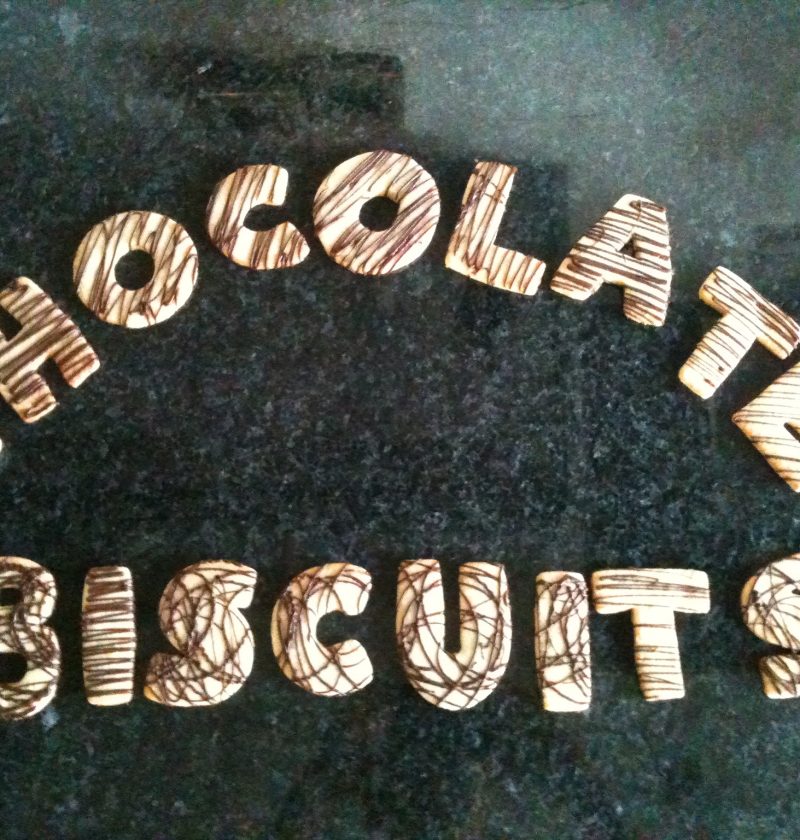
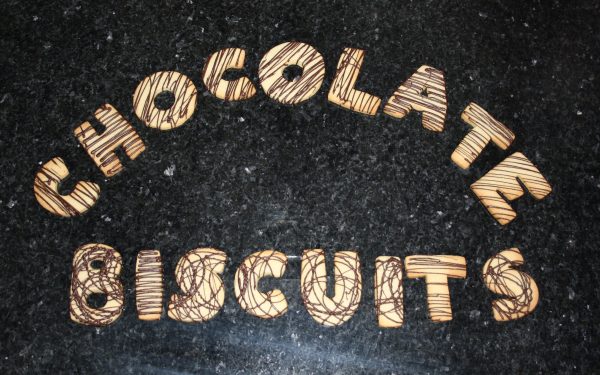
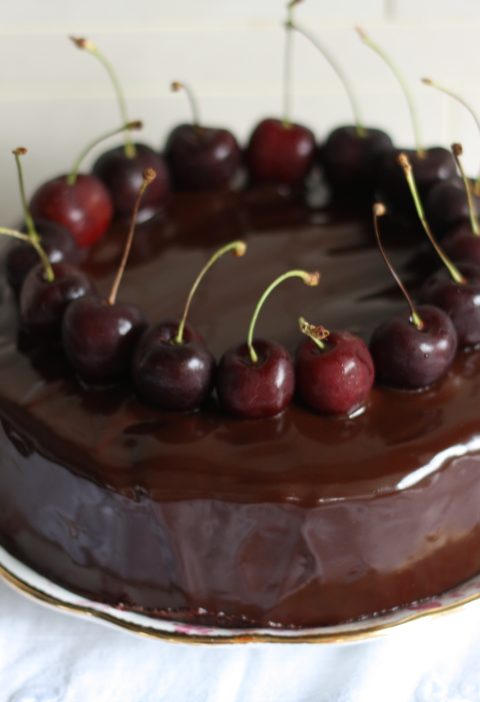
Beau studies a new topic each term and this time it’s chocolate. They are doing a biscuit tasting to see what different brands make and how they differ. As I had limited notice (let’s say 1 ½ hours, as Downtown Abby was going to be starting at 9pm) I had to think on my toes. “What do I have in the house-ingredients wise- that will suit?” I decided that you can’t go wrong with a vanilla biscuit and as I have recently discovered, these ones taste amazing with dark chocolate.
This is the recipe I always use when I ice biscuits as gifts, but with a chocolate topping on them they taste completely different and are very quick to make and decorate. Also melting chocolate and ‘drawing’ all over biscuits is really good fun.
Ingredients
Makes around 30 biscuits
- 200g unsalted butter- at room temperature
- 200g caster sugar
- 400g plain flour
- 1 egg – at room temperature
- ½ tsp vanilla extract
- 100g dark chocolate
To make the biscuits
- Place the butter in a bowl. I had to cut mine up into small pieces so that I could warm it up quickly when I mixed it, but it’s best if it’s at room temperature.
- Add the sugar, flour, egg and vanilla essence
- Mix the ingredients by hand. I always mix biscuits by hand as the warmth from your hands means that it’s all being blended really well and for some reason they taste much better than when mixed with a machine. You can always start the mixing with a wooden spoon if you don’t like gloopy hands.
- Be careful not to overmix biscuit dough. It will not only become tough, but the biscuits will spread more when baked and we want them to keep their shape perfectly.
- Once it is nearly all blended I turn it out onto the worktop and knead it till it all holds together nicely.
- Then wrap it cling film and pop it in the fridge for 30-60 minute. I was on a tight time scale last night so I put it in the freezer for 10 minutes. The dough is much easier to handle once it’s been properly chilled. Mine was really soft and sticky so I just added a little more flour when rolling it out.
- Use spacing sticks (available from cake decorating shops) to ensure that when you roll out your biscuits they are all the same thickness.
- Cut out the letters then remove the excess first. This way you can pick up the biscuit without denting it.
- Place on a baking tray lined with baking paper and place in the fridge for 20 minutes. This will stop the biscuits from spreading when they are baked.
- Bake in the oven for 12 minutes at 160° or until the biscuits start to brown on the edges
- Remove from the oven and leave to cool for a few minutes before transferring to a wire rack to cool completely.
To decorate
- Place long strips of cling film across your table. This is great as the chocolate makes a huge sticky mess and when you are finished you can simply lift it up and bin it.
- In a microwaveable bowl melt the chocolate. The easiest way to do this is to break it into small pieces and heat it up for 30 seconds at a time and stir in between. That way you can ensure that the chocolate doesn’t burn.
- Place all the cooled biscuits on the cling film so that they are close together but not touching.
- To transfer the melted chocolate into a plastic icing bag place the bag inside a drinking glass and fold the edges over. Snip the bottom off when you are ready to go. The chocolate will dribble out from the moment you cut off the end of the icing bag so be ready to go.
- Decorate each biscuit in turn by adding the chocolate in a circular or zig zag action. Leave the chocolate to harden for 5 minutes then transfer the biscuits to a cooling rack to harden completely.
- Once dry and hard place the biscuits in a box or on a plate and enjoy.
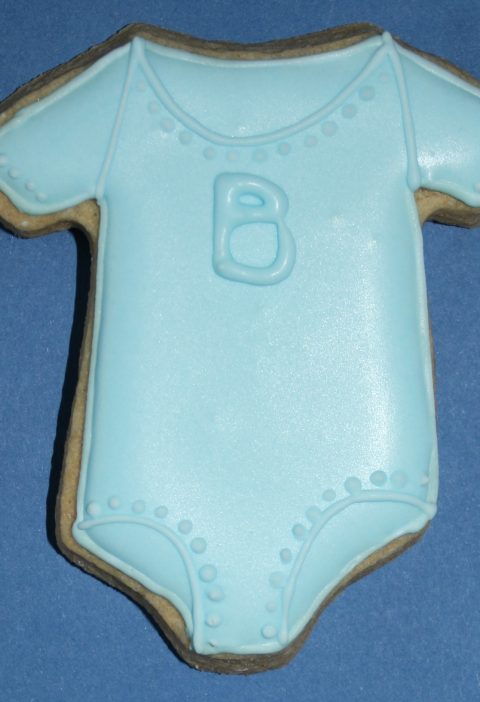
These are a great biscuit to make as a gift. The first time we made them was for Beau’s friend Dixie’s 8th birthday a few weeks ago. We wrote her name and did a few dog shapes too. They always go down really well.
Enjoy!
More biscuits and cookies you may enjoy
Dairy Free chocolate chip cookie recipe
Fast from the freezer Double Chocolate Chip Cookie Recipe
Easy Almond Biscuits – a.k.a my mum’s fabulous Kirchals.
Some seriously chocolatey cookies
The easy way to make Viennese biscuits
Vanilla Biscuits – chocolate style


[…] x Vanilla cookie dough (see here for recipe to make around 30 […]
[…] I’m a big believer in letting kids make a mess in the kitchen and especially when baking. My two certainly do that. Actually they make a mess everywhere in the house, every day but that’s another story! We decided that it was time to make their favorite Vanilla Cookies. […]
[…] made up a batch of Vanilla dough for these cookies and using spacers rolled out the dough so each cookie would be the same […]
[…] made vanilla cookies and chocolate cookies and I let Beau, Darcey and my nephew Asher go to town with the icing. Then […]
[…] your cookies. I made Vanilla cookies from this recipe and chocolate cookies from this […]