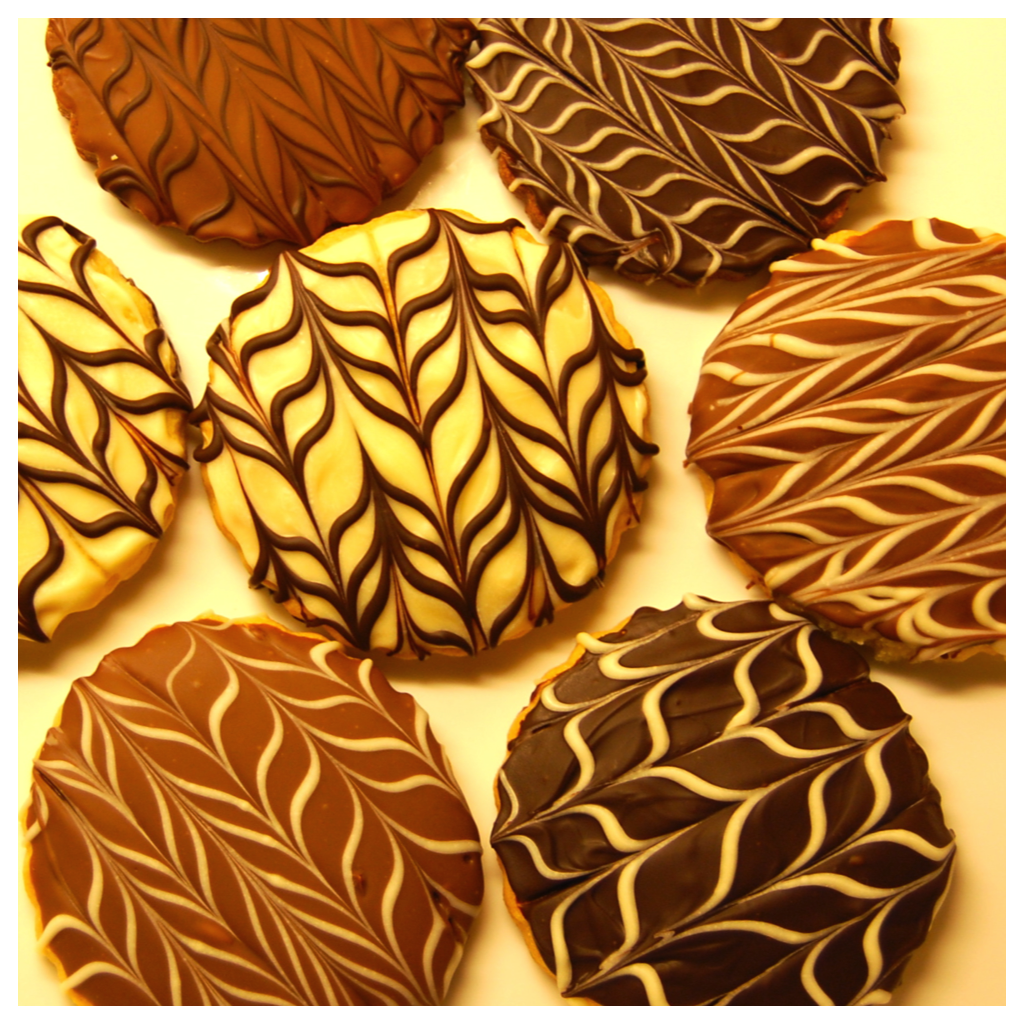
It was my sister Shelley’s birthday on Monday and I wanted to make her a little treat. Just a little one – as I know she has nearly as much chocolate left over from Christmas as we do!
I decided to make her some vanilla and chocolate cookies covered in thick milk, dark and white chocolate. You could say it was a chocolate overload.
The inspiration for decorating these cookies came when we were messing around with some fab sprinkles last week. Shelley had come to pick up my nephew Asher while we were mid way through decorating biscuits and she helped Beau to create this pattern on her cookies with royal icing. I haven’t done this effect for years. It’s really easy to achieve, but is a little time-consuming and pretty messy… or that might be just me.
How to make these seriously chocolatey cookies
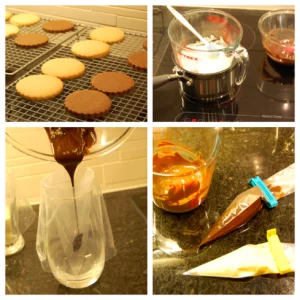
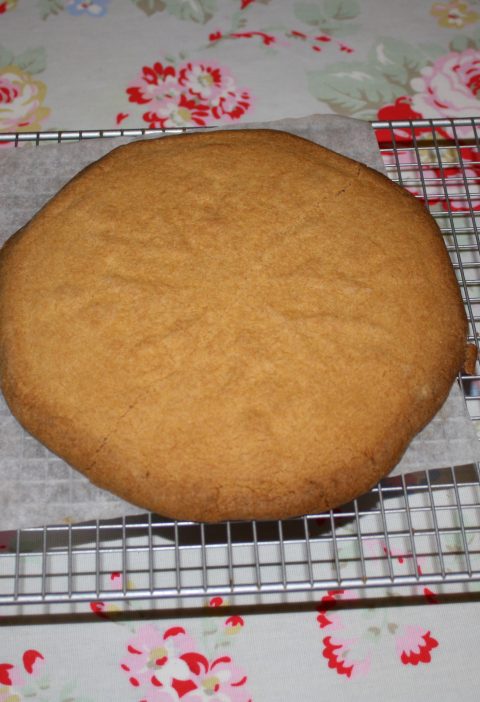
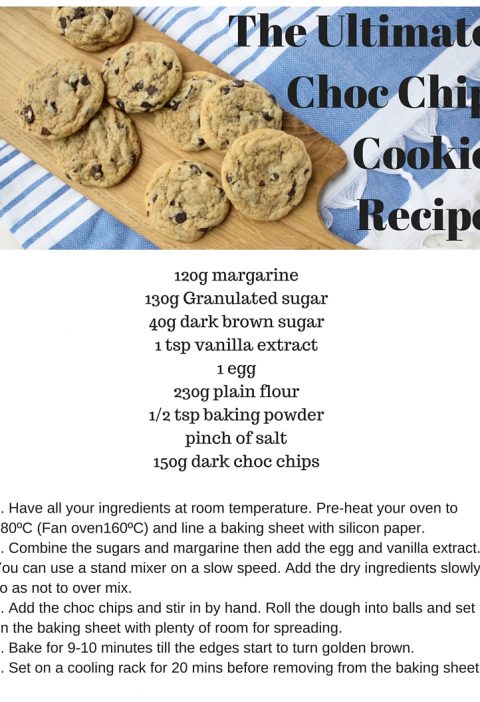
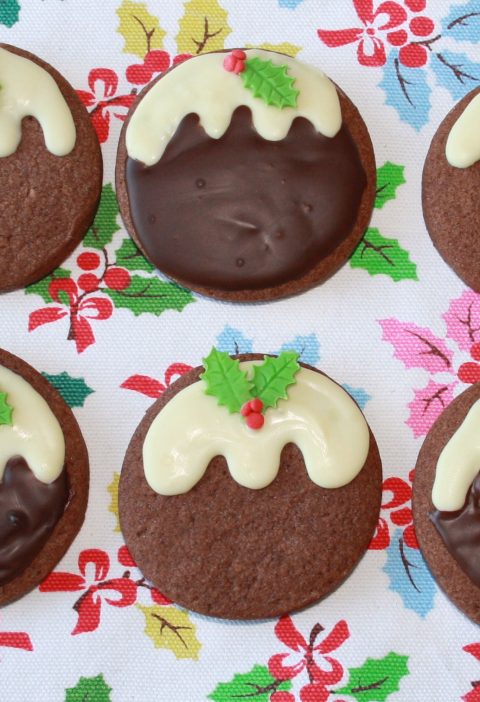
- Bake your cookies. I made Vanilla cookies from this recipe and chocolate cookies from this recipe.
- Melt your chocolate in a pyrex bowl over simmering water. Don’t let the bowl touch the water though.
- Place a piping bag in a glass and fold the edges over the outside so you can pour your chocolate into the bag easily.
- Add a clip on the end to keep the melted chocolate in the piping bag and not running down your hands/arms/worktops.
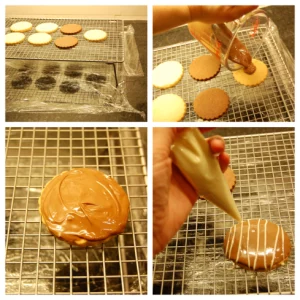
- To make cleaning up a doddle. Lay some clingfilm over your work surface and position your wire rack over the top.
- Pour some melted chocolate over one cookie at a time.
- Smooth it so that every bit of the cookie is coated (there’s more yumminess that way)
- With your piping bag (with a different type of melted chocolate) pipe lines in one direction across the whole cookie. It doesn’t matter if they aren’t that straight. You’re going to be messing them up anyway.
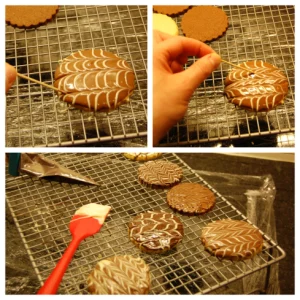
- Use a toothpick to drag across the cookie. As you drag each line is pulled in that direction creating little peaks.
- When you have done a few lines in one direction drag the toothpick in the other direction – in between first lot of lines. (Please note that I had to turn the cookie around so I could take the picture- but in other words the first lot of dragging was done from left to right, the second was from right to left- I hope that makes sense!
- Once you have finished leave them alone for at least an hour. They take a long time to fully set. After an hour move them very carefully across the wire rack with a spatular or by giving them a gentle push with a toothpick so that they don’t permanently stick to the rack, then leave them to fully harden overnight (or for at least 6 hours). They are then ready to wrap or eat.
Happy Birthday Shelley. Love you. xXx
enjoy!
More Chocolate Recipes you may enjoy
How to cover a cake in chocolate ganache
How To Make The Very Best Vegan Chocolate Cake You’ll Ever Bake
Chocolate cupcakes recipe with cherry goodness
Dairy Free chocolate chip cookie recipe
Fast from the freezer Double Chocolate Chip Cookie Recipe
Excited about sprinkles. And sauces. And ganache!

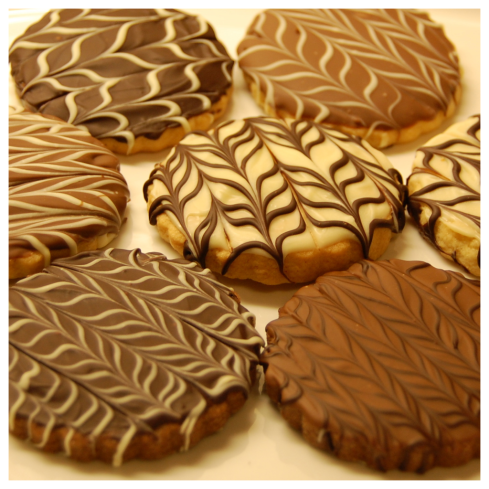

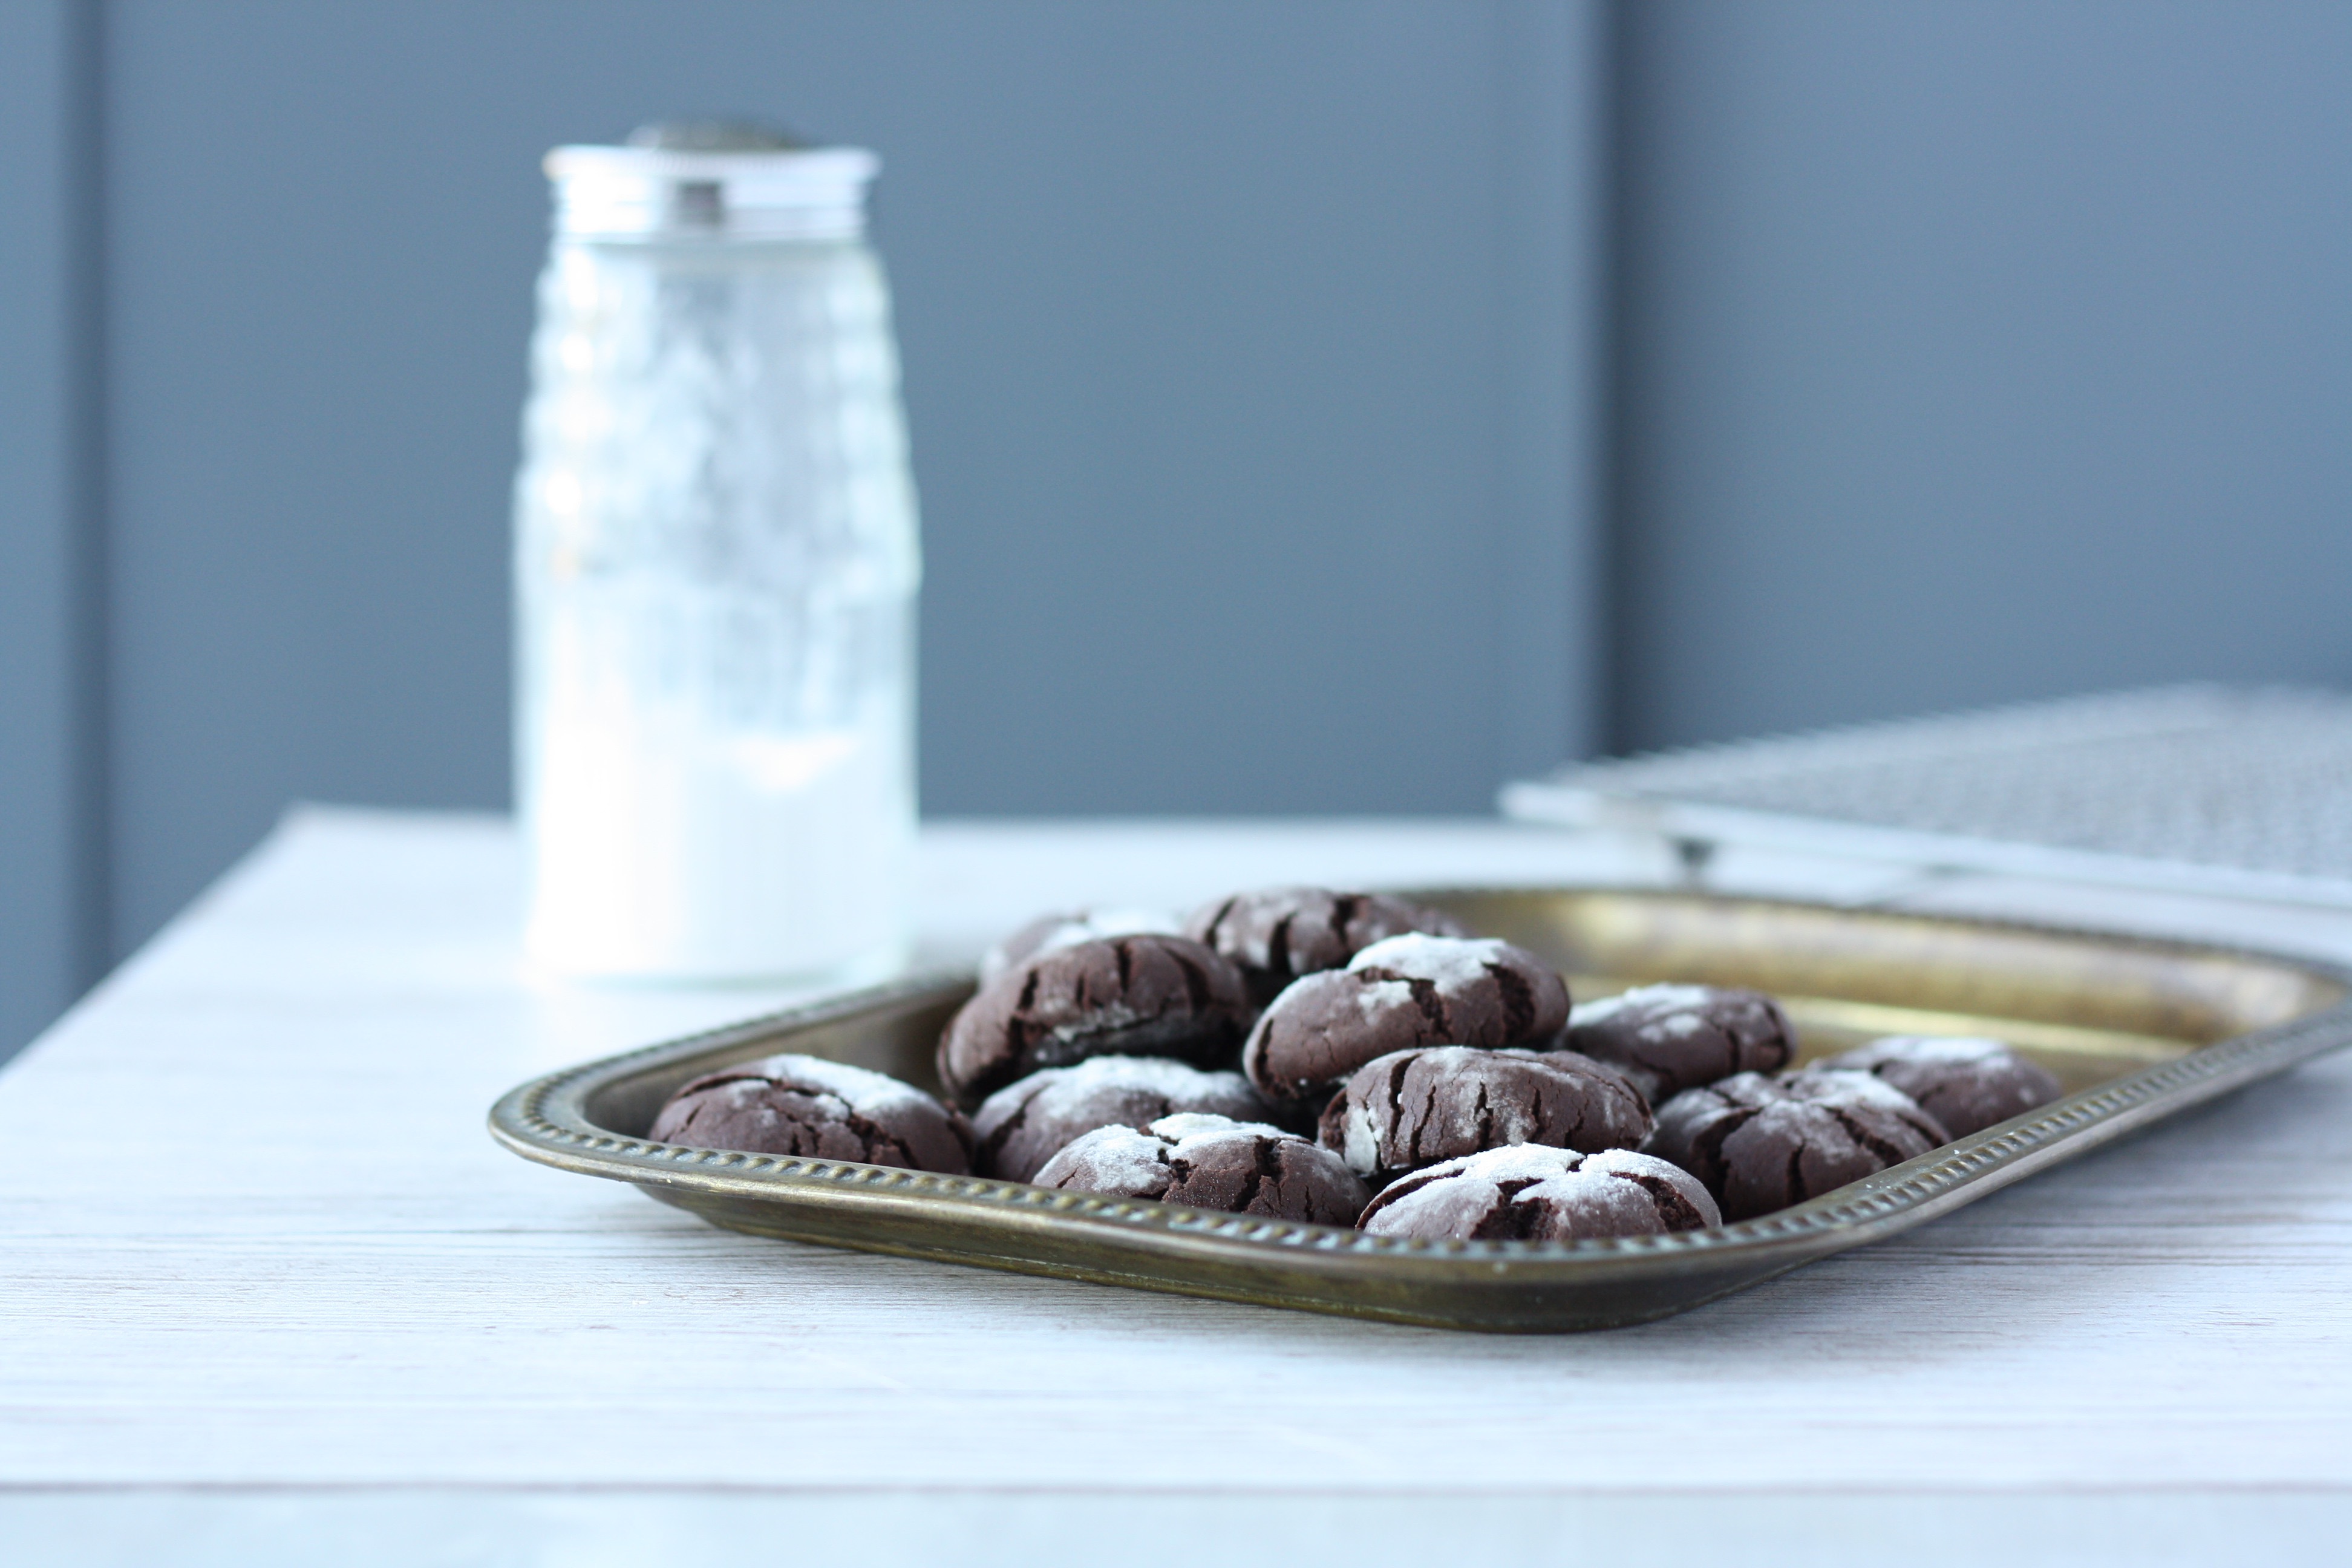
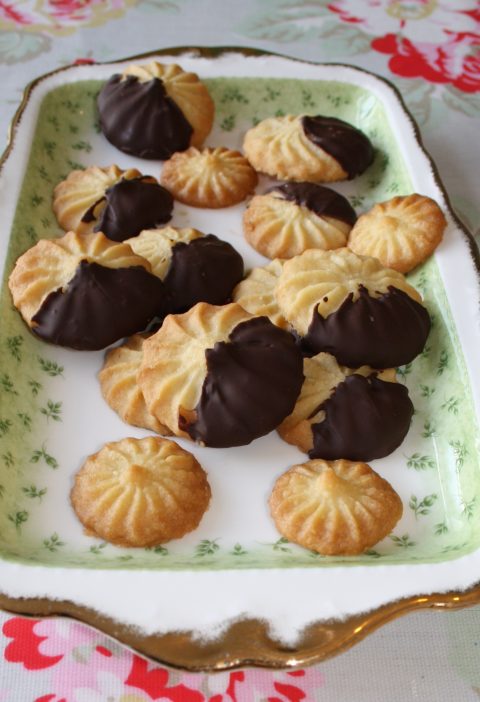
I gotta admit that I’m in love with the top of the cookies, they look cute and super yummy !!! Everyone will be happy receiving such a beautiful present like this 😉
Ooh, they look so pretty! They would make a lovely gift.
These are beautiful Emma! I love the pattern on the top 🙂
These look AMAZING! And the clip on the piping bag… you might have just saved me several years of cleaning over my cookie-baking life 🙂
Ah that’s thanks to the joys of baking with kids!
Hi Shelly they lok great but what is the recipe of how to make the biscuits
Regards Rowena
Hello Rowena,
These are biscuits that I have written about previously. In this post where it says
“I made Vanilla cookies from this recipe and chocolate cookies from this recipe.”
If you click on the highlighted word “this” you will go straight through to the recipes.
Hope that helps
Em
X