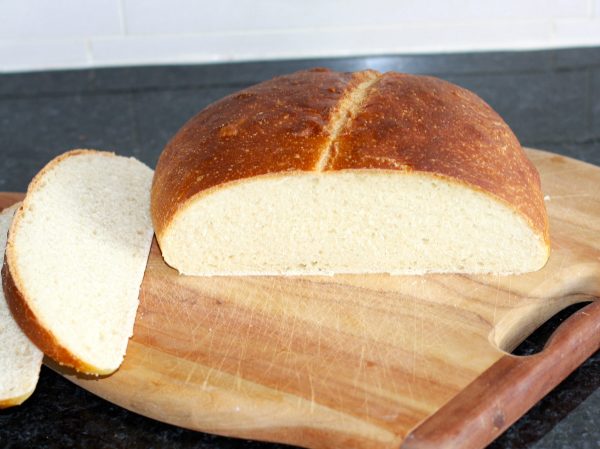
This is what Paul’s White cob loaf looks like – Taken from the book ‘How to Bake’
So, as I said yesterday, bread is not my thing. So when I set about making this loaf for the first time I was a little apprehensive! But my worries were completely unfounded. ‘How to bake’ by Paul Hollywood is really easy to follow and I really loved getting my fingers into the dough and having a good knead (as you will see below). It’s strangely satisfying. So soft and spongy not like sugarpaste which is much harder to manipulate. I’m sure I’m developing better toned arms from kneading sugarpaste, but I digress!
Making bread is fun. Not quite as relaxing as baking cakes (well for me anyway) but it’s just as rewarding.
I have been lucky enough to get permission to feature a book extract from ‘How To Bake’ published by Bloomsbury Publishing so without further a do…. here’s the White cob recipe – words Paul Hollywood, along with my action shots!
White cob loaf recipe
MAKES 1 loaf / PREP 3 hours / BAKE 30 minutes
Ingredients
500g Strong white bread flour, plus extra for dusting
10g salt
10g instant yeast
30g unsalted butter,softened
320ml cool water
Olive oil for kneading
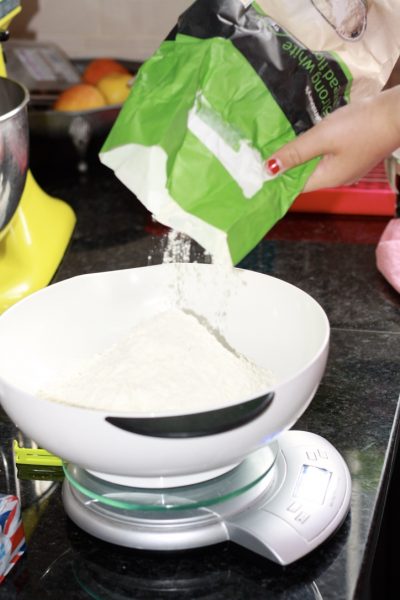
How to make a white cob loaf
Tip the flour into a large mixing bowl.
With a little help from Beau
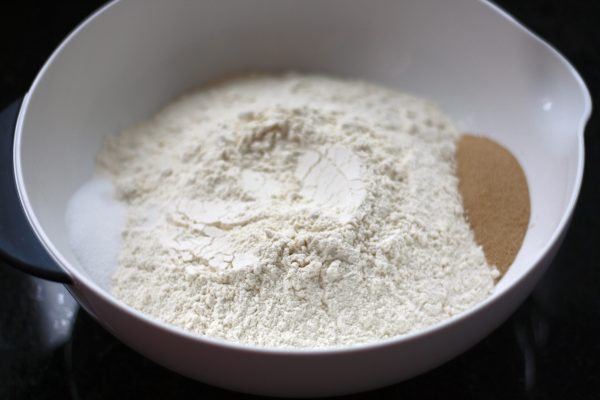
Add the salt to one side of the bowl and the yeast to the other.
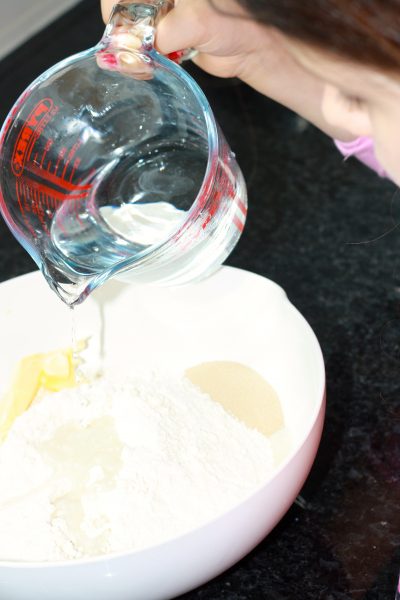
Add the butter and three-quarters of the water, and turn the mixture round with your fingers. Continue to add the remaining water, a little at a time, until you’ve picked up all the flour from the sides of the bowl. You may not need to add all the water, or you may need to add a little more – you want dough that is soft, but not soggy. Use the mixture to clean the inside of the bowl and keep going until the mixture forms a rough dough.
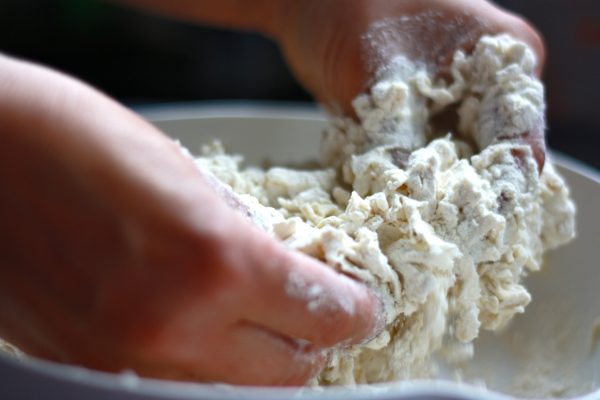
Coat the work surface with a little olive oil, then tip the dough onto it and begin to knead. Keep kneading for 5–10 minutes. Work through the initial wet stage until the dough starts to form a soft, smooth skin.
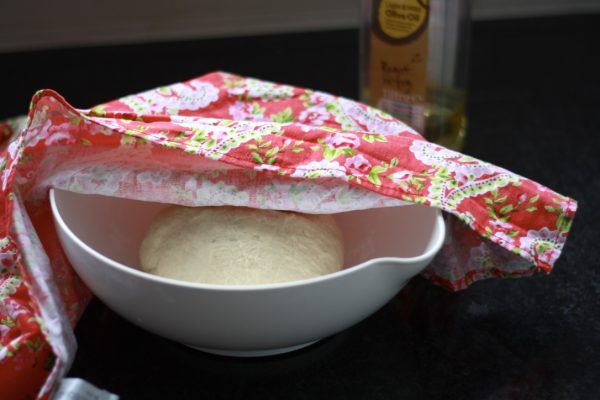
When your dough feels smooth and silky, put it into a lightly oiled large bowl. Cover with a tea towel and leave to rise until at least doubled in size – at least 1 hour, but it’s fine to leave it for 2 or even 3 hours.
Line a baking tray with baking parchment or silicone paper.
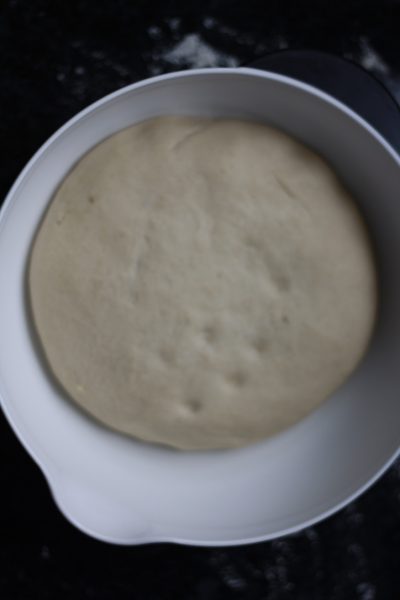
Once risen, the dough should be bouncy and shiny. Scrape it out of the bowl onto a lightly floured surface. First shape into a ball by folding it inwards repeatedly until all the air is knocked out and the dough is smooth. Then form it into a round, smooth cob shape.
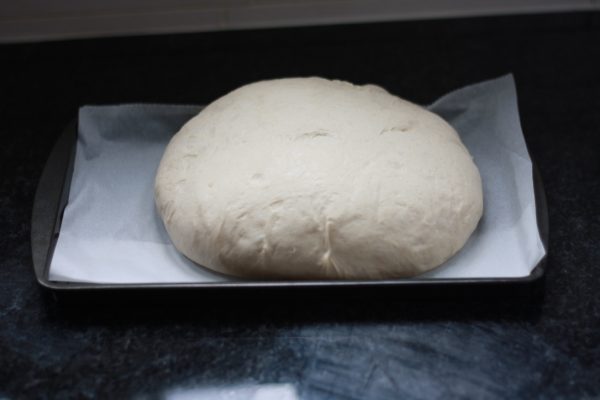
Put the dough on the baking tray and place in a clean plastic bag. Leave to prove for about 1 hour, until the dough is at least doubled in size and springs back quickly if you prod it lightly with your finger. Meanwhile, heat your oven to 230˚C and put a roasting tray in the bottom to heat up
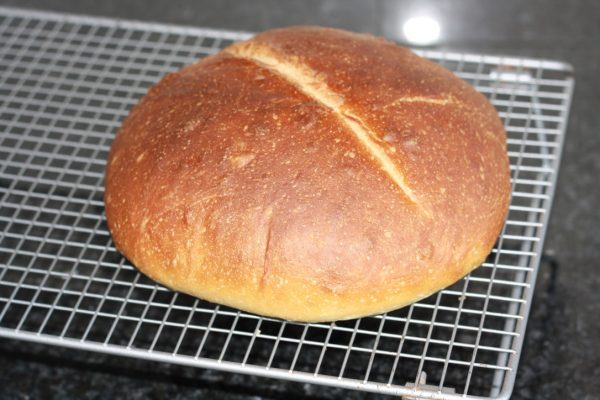
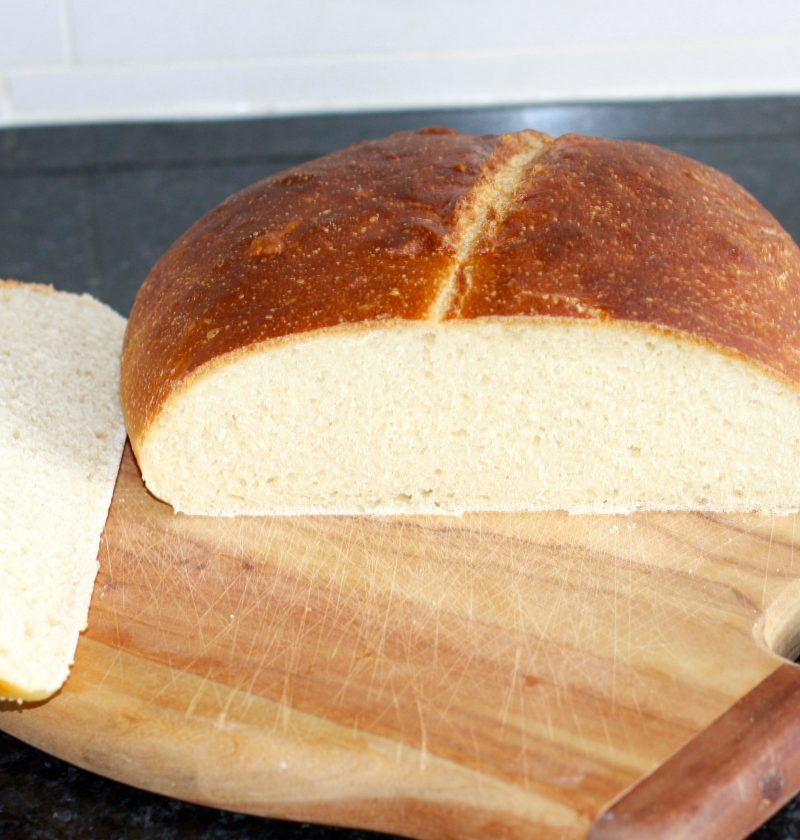
So, does it look right? I’m not sure. But I can tell you this. It tasted amazing! Beau and I had some toasted and that was even better than the warm slices we had once it had cooled down enough to handle it.

I will definitely be making bread again. It’s pretty straight forward and fun, you just need to have the time to come back a few times and do some kneading, but it’s definitely worth the effort.
Enjoy!
Want more bread? Try this Challah recipe. It has egg so it’s a lovely cakey bread
More Bakes you may enjoy
FAQ: Frequently Asked Questions
Chocolate cupcakes recipe with cherry goodness
Sultana scone recipe – the easy way




Looks wonderful. Think I might be tempted to give it a try. One of the best things about working from home is being able to pop down to the kitchen every now and then to keep an eye on my bread. I never had time to bake when I worked in an office.
I agree! Freelancing rocks!
[…] Check out Paul Hollywood’s White Cob loaf recipe here. Share this:LinkedInPinterestFacebookTwitterLike this:LikeOne blogger likes […]